# SeaThru-NeRF
```{button-link} https://sea-thru-nerf.github.io
:color: primary
:outline:
Official Paper Website
```
```{button-link} https://github.com/AkerBP/seathru_nerf
:color: primary
:outline:
Code (nerfstudio implementation)
```
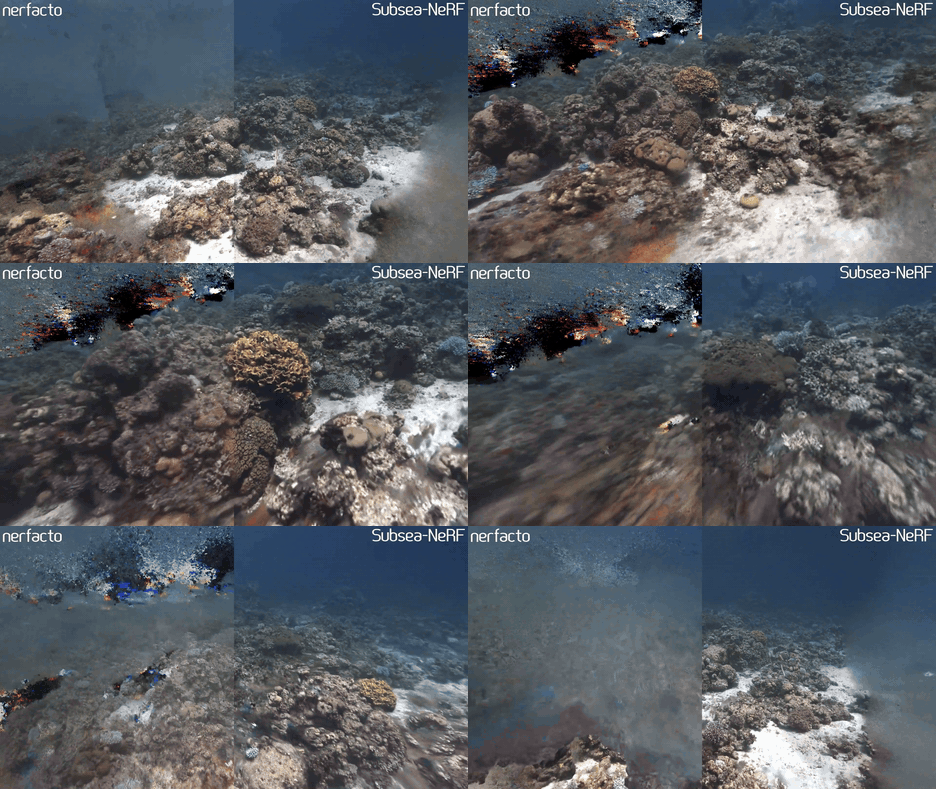
**A Neural Radiance Field for subsea scenes.**
## Requirements
We provide the following two model configurations:
| Method | Description | Memory | Quality |
| ------------------- | ------------- | ------ | ------- |
| `seathru-nerf` | Larger model | ~23 GB | Best |
| `seathru-nerf-lite` | Smaller model | ~7 GB | Good |
`seathru-nerf-lite` should run on a single desktop/laptop GPU with 8GB VRAM.
## Installation
After installing nerfstudio and its dependencies, run:
```bash
pip install git+https://github.com/AkerBP/seathru_nerf
```
## Running SeaThru-NeRF
To check your installation and to see the hyperparameters of the method, run:
```bash
ns-train seathru-nerf-lite --help
```
If you see the help message with all the training options, you are good to go and ready to train your first susbea NeRF! 🚀🚀🚀
For a detailed tutorial of a training process, please see the docs provided [here](https://akerbp.github.io/seathru_nerf/).
## Method
This method is an unofficial extension that adapts the official [SeaThru-NeRF](https://sea-thru-nerf.github.io) publication. Since it is built ontop of nerfstudio, it allows for easy modification and experimentation.
Compared to a classical NeRF approach, we differentiate between solid objects and the medium within a scene. Therefore both, the object colours and the medium colours of samples along a ray contribute towards the final pixel colour as follows:
$$\boldsymbol{\hat{C}}(\mathbf{r})=\sum_{i=1}^N \boldsymbol{\hat{C}}^{\rm obj}_i(\mathbf{r})+\sum_{i=1}^N \boldsymbol{\hat{C}}^{\rm med}_i(\mathbf{r}) \,.$$
Those two contributions can be calculated as follows:
$$\boldsymbol{\hat{C}}^{\rm obj}_i(\mathbf{r}) =
T^{\rm obj}_i \cdot \exp (-\boldsymbol{\sigma}^{\rm attn} t_i)
\cdot \big(1-\exp({-\sigma^{\rm obj}_i\delta_i})\big) \cdot \mathbf{c}^{\rm obj}_i \,,$$
$$\boldsymbol{\hat{C}}^{\rm med}_i(\mathbf{r}) =
T^{\rm obj}_i \cdot \exp ( -\boldsymbol{\sigma}^{\rm bs} t_i )
\cdot \big( 1 - \exp ( -\boldsymbol{\sigma}^{\rm bs} \delta_i ) \big) \cdot \mathbf{c}^{\rm med}\,,$$
$$\textrm{where } \ T^{\rm obj}_i = \exp\bigg(-\sum_{j=0}^{i-1}\sigma^{\rm obj}_j\delta_j\bigg) \,. $$
The above equations contain five parameters that are used to describe the underlying scene: object density $\sigma^{\rm obj}_i \in \mathbb{R}^{1}$, object colour $\mathbf{c}^{obj}_i \in \mathbb{R}^{3}$, backscatter density $\boldsymbol{\sigma}^{\rm bs} \in \mathbb{R}^{3}$, attenuation density $\boldsymbol{\sigma}^{\rm attn} \in \mathbb{R}^{3}$ and medium colour $\mathbf{c}^{\rm med} \in \mathbb{R}^{3}$.
To get a better idea of the different densities, the following figure shows an example ray with the different densities visualised:
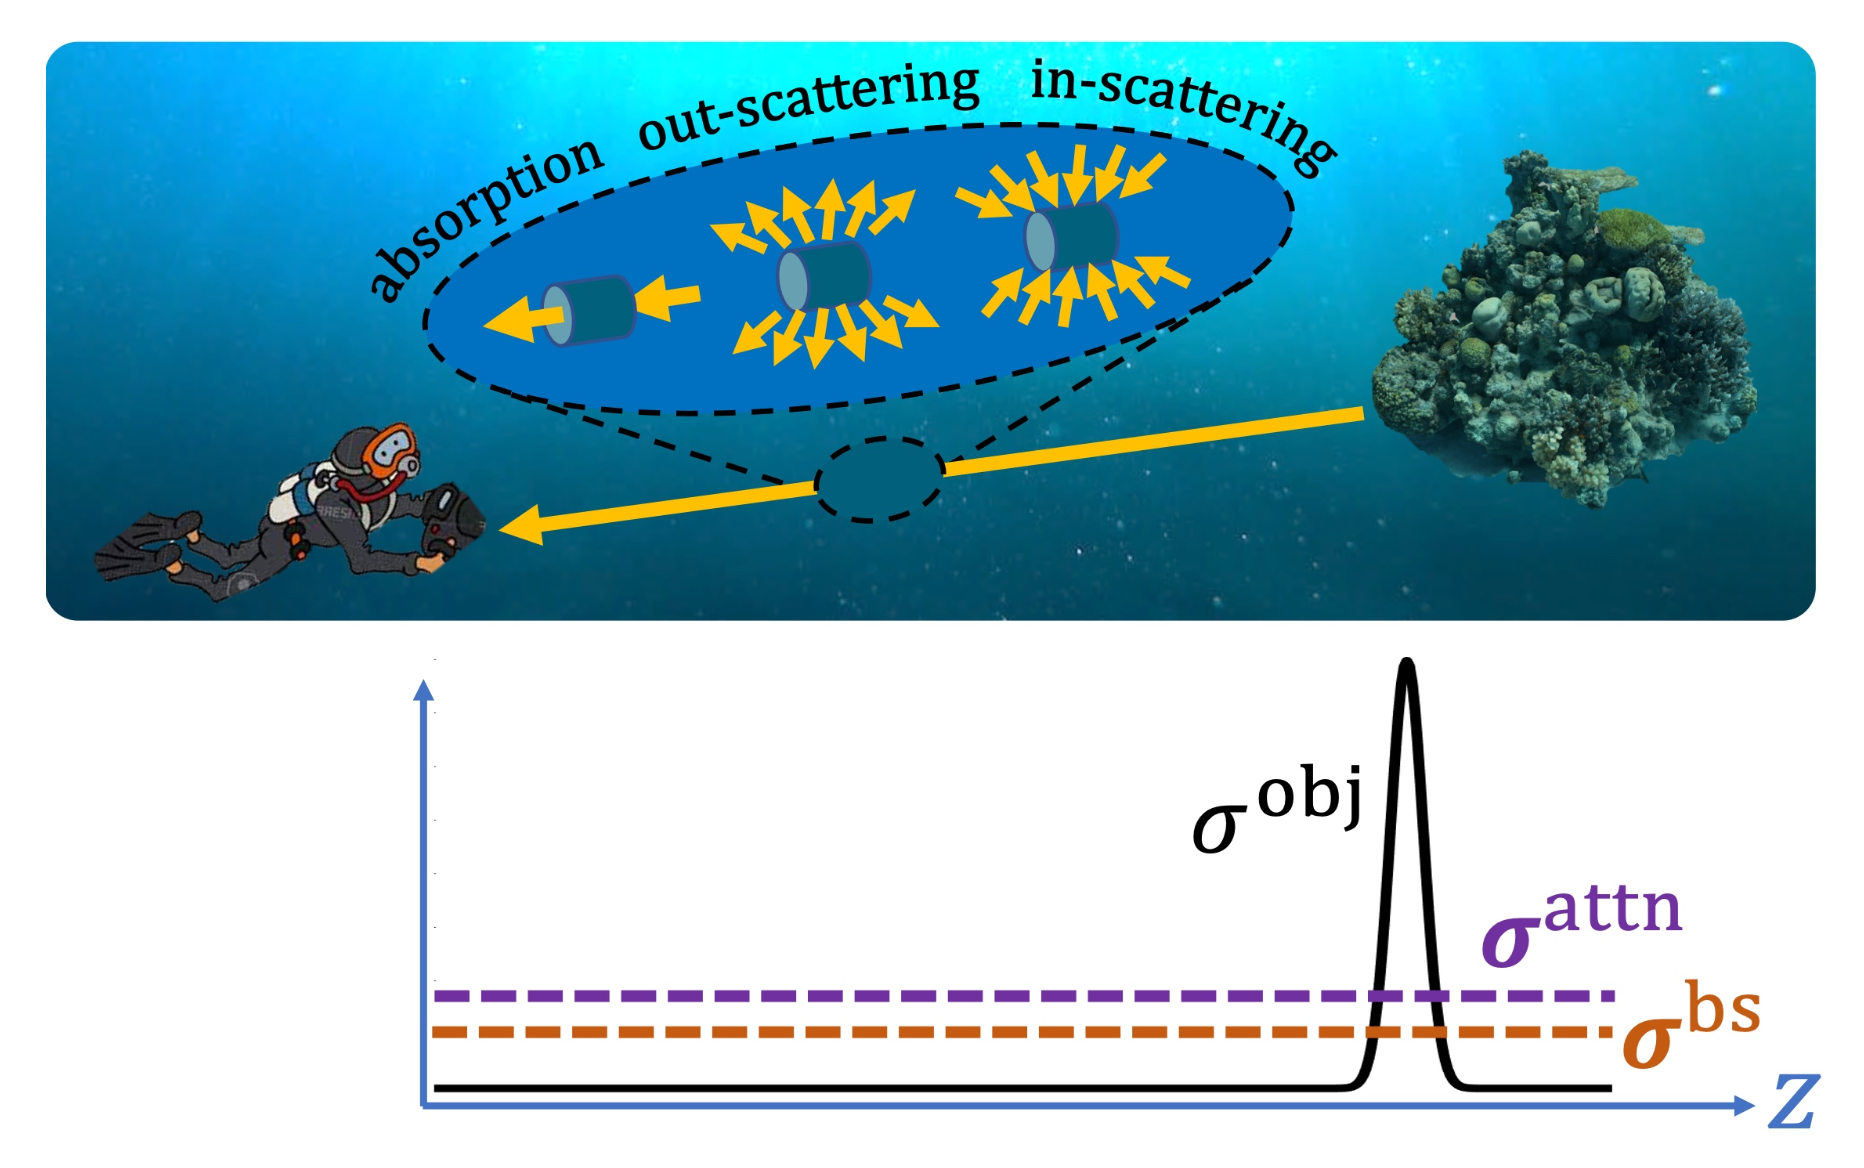
*The image above was taken from [Levy et al. (2023)](https://arxiv.org/abs/2304.07743).*
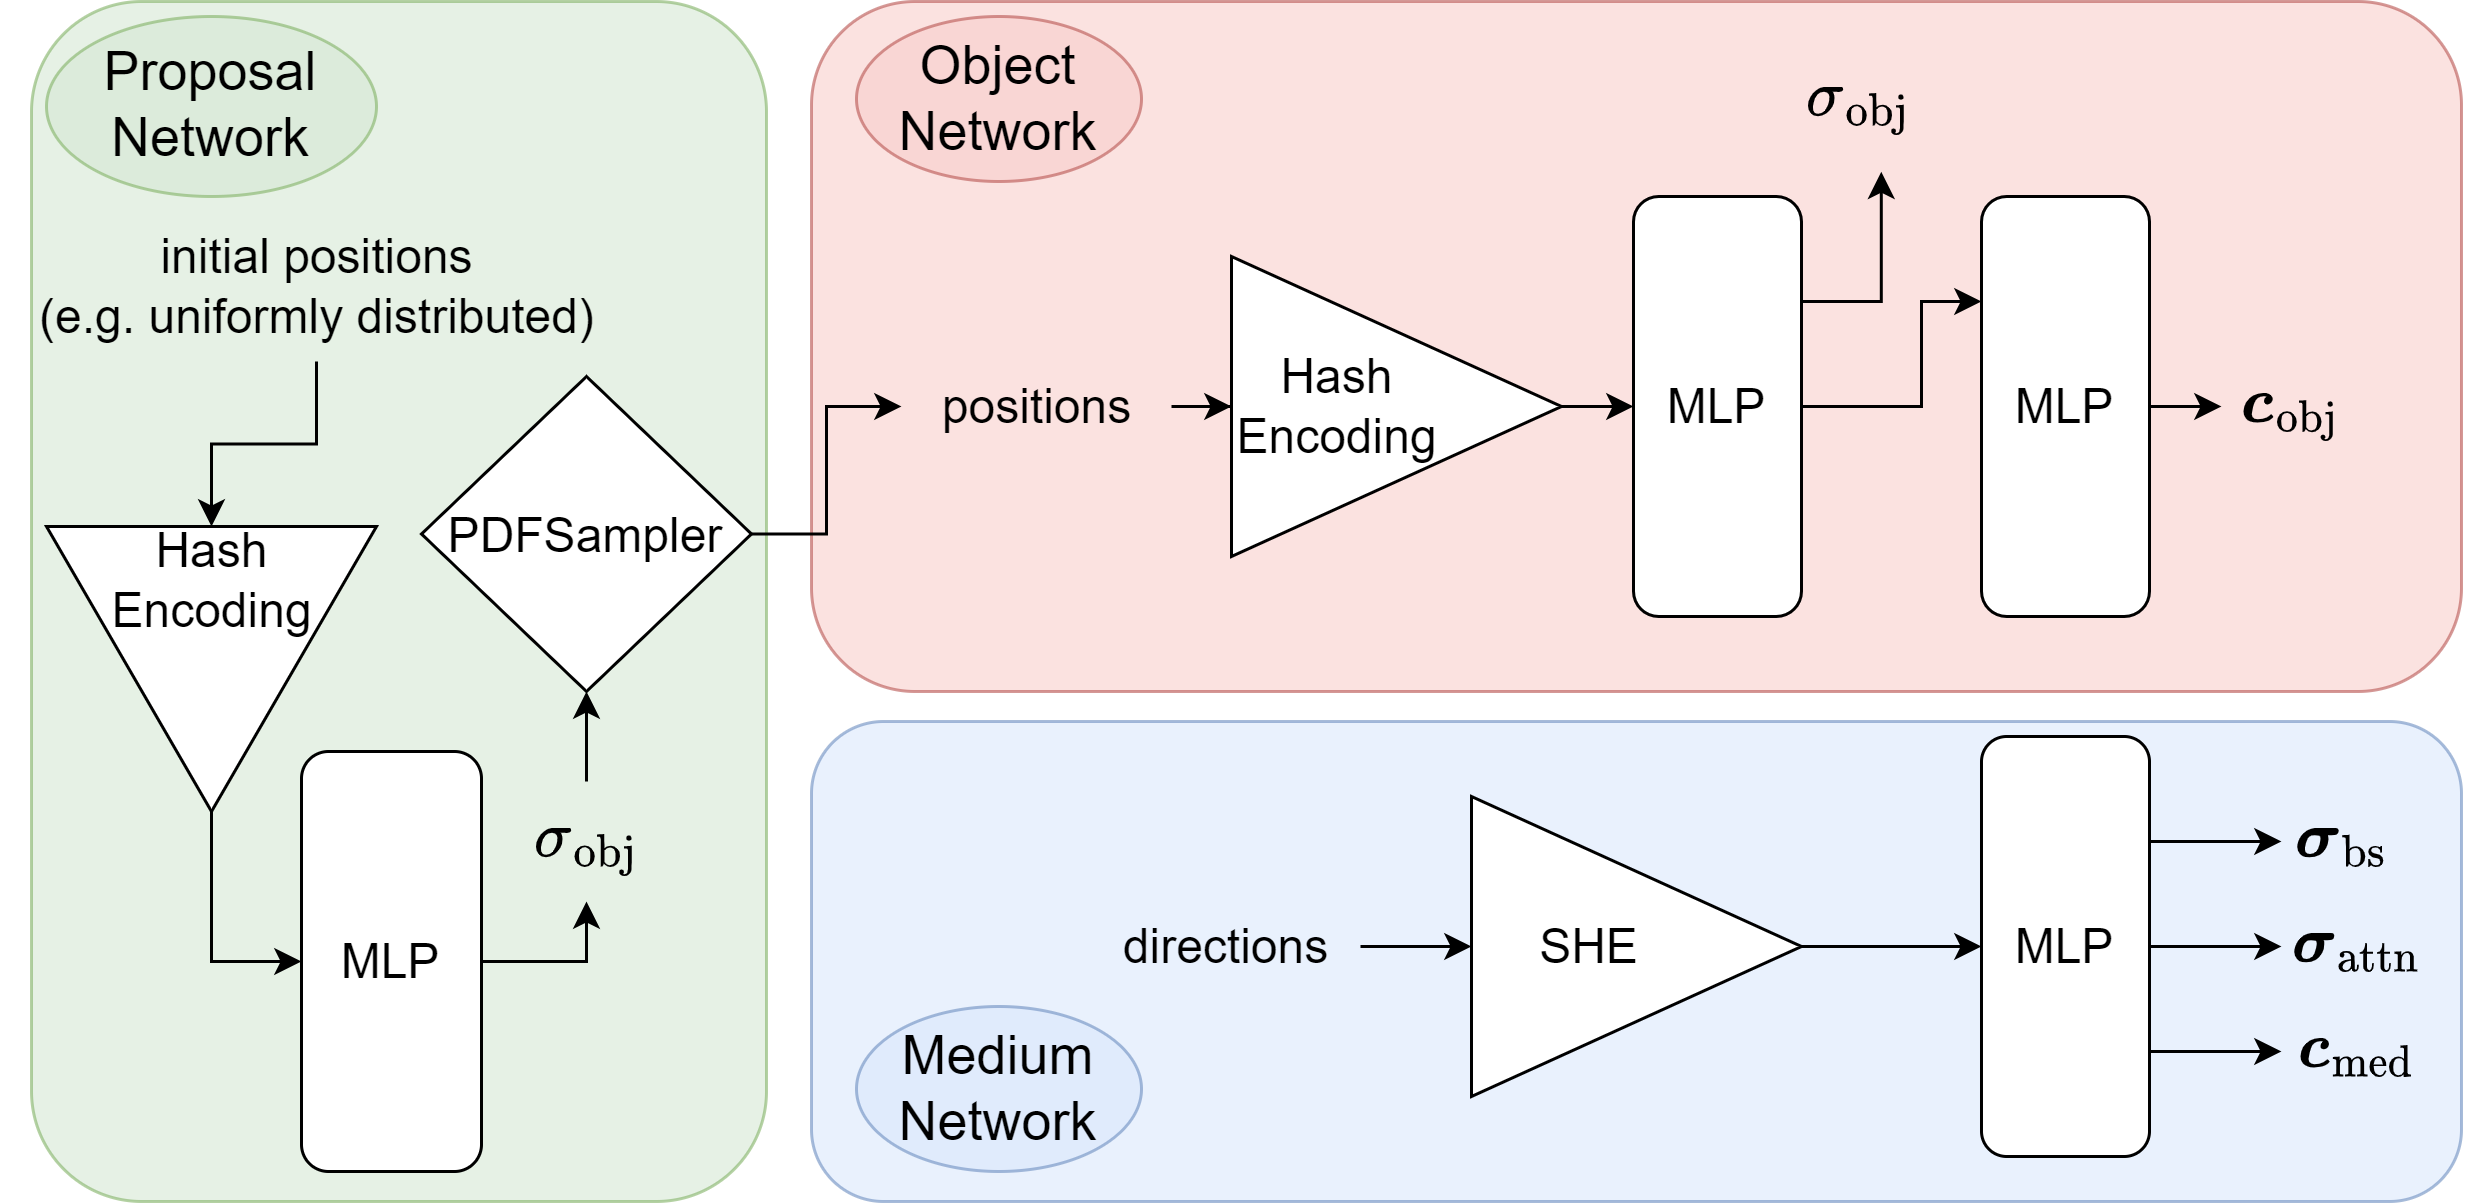
To predict the object and medium parameters, we use two separate networks. This subsea specific approach can be visualised as follows: (note that the third network is the proposal network, which is used to sample points in regions that contribute most to the final image)
If you are interested in an in depth description of the method, make sure to check out the documentation [here](https://akerbp.github.io/seathru_nerf/intro.html).
## Example results
Due to the underlying image formation model that allows us to seperate between the objects and the water within a scene, you can choose between different rendering options. The following options exist:
- rgb: To render normal RGB of the scene.
- J: To render the clear scene (water effect removed).
- direct: To render the attenuated clear scene.
- bs: To render backscatter of the water within the scene.
- depth: To render depthmaps of the scene.
- accumulation: To render object weight accumulation of the scene.
Below, you can see an original render of a scene and one with the water effects removed:
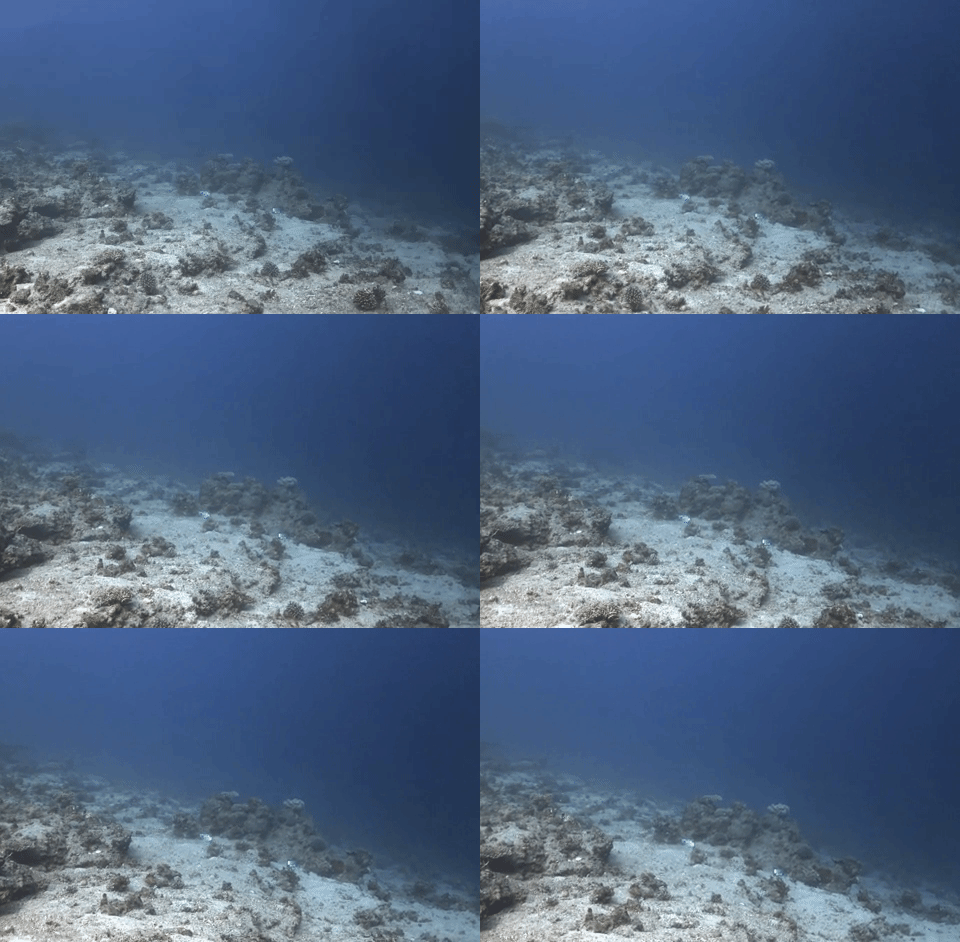
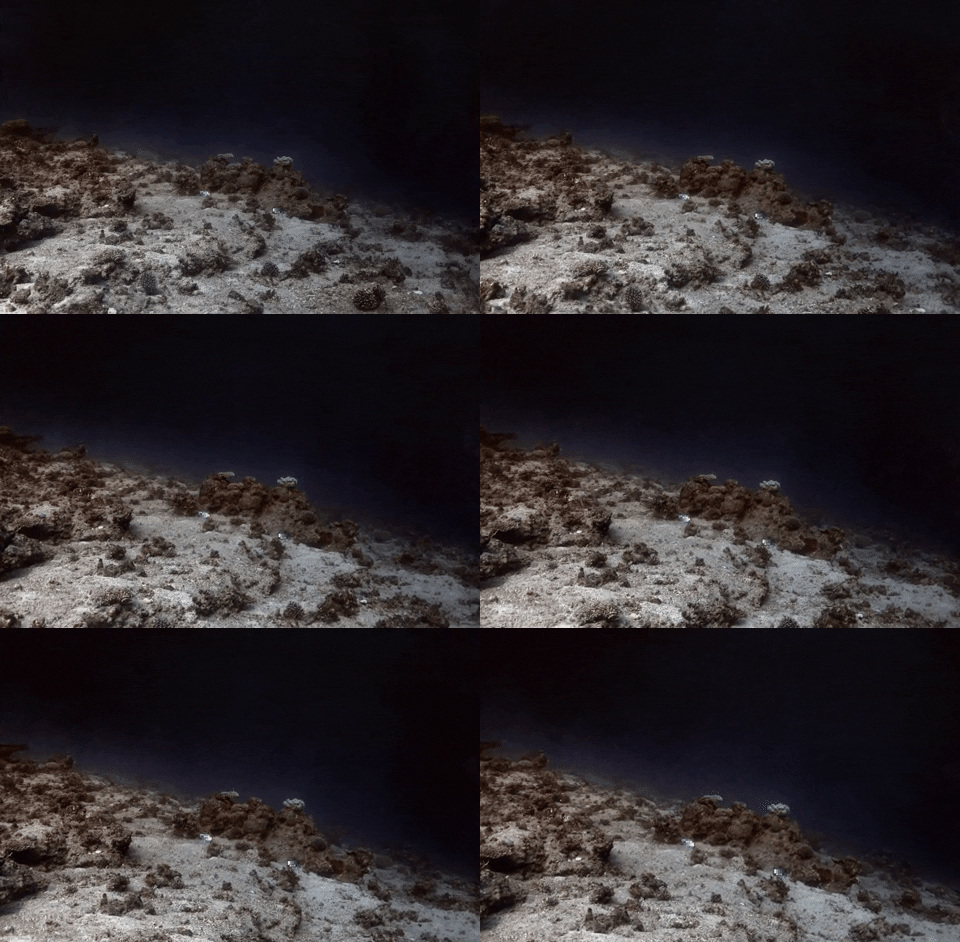
*Please note that those gifs are compressed and do not do the approach justice. Please render your own videos to see the level of detail and clarity of the renders.*